

Because it's beanie time...
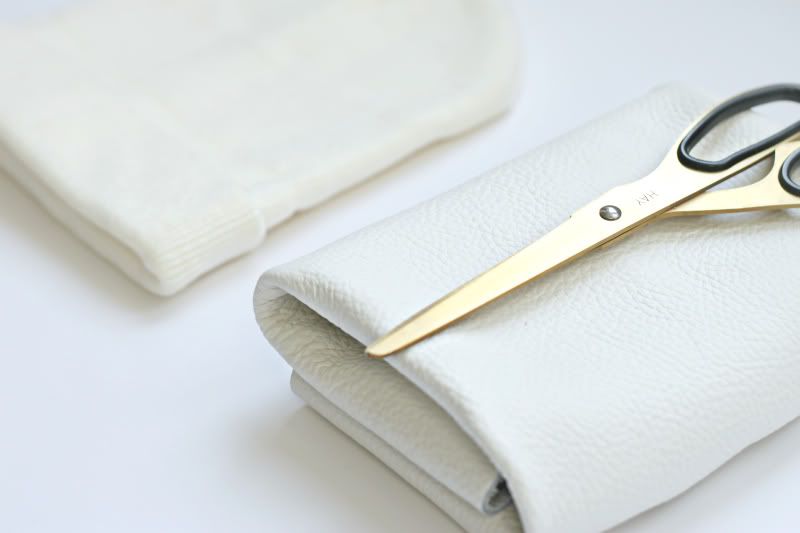
-Knit beanie
-bit of supple leather
-scissors
-sewing machine/needle and thread
-pen
Nº1
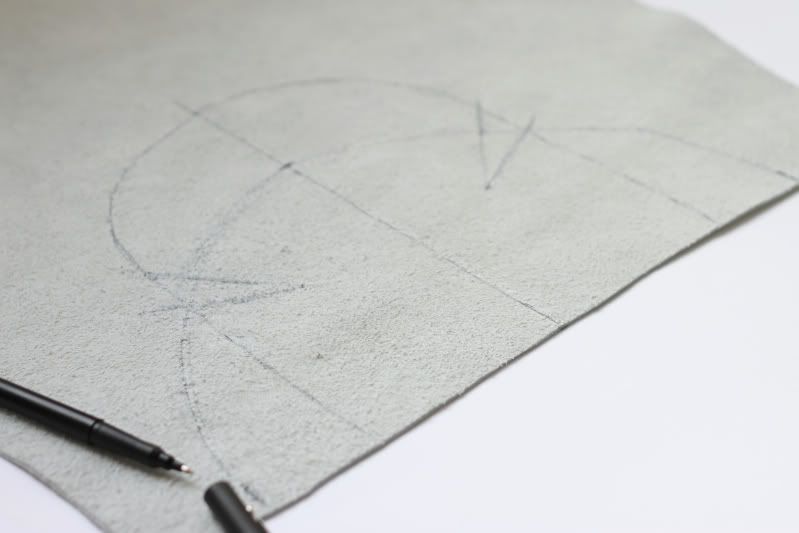
Start out by tracing the beanie with a pen on the back side of the leather. Now put the beanie on, exactly in the position that you would wear it and measure how much of it is sticking out on the top, with me that was only 5 cm. Mark 5 cm from the top of the outline you just drew on the leather. Now put the measuring tape around your head over the bottom fold of the beanie. Divide this measurement by half and mark this next to the outline of the beanie you drew on the leather. Sketch a half circle between these 3 points. Draw two diagonal lines where the lines of the half circle and the ones from the traced beanie meet. (If you look at the pattern I drew, this whole step might make more sense.)
Nº2
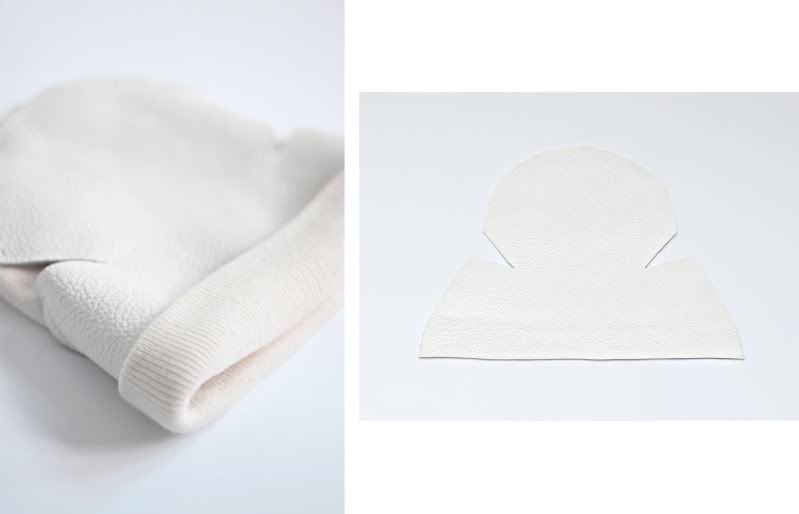
Cut out the leather and make two slits on the diagonal lines. Try it out a couple of times and make the darts wider by cutting little bits at a time until they allow the leather to shape like the knit. It is very important that it is a thin and very supple kind of leather. You can also leave the leather in lukewarm water for 30 minutes to make it more bendable.
Nº3
You can sew leather with a small or regular sewing machine if you do it very slowly with a good quality thread. Sew on the leather panel on the top and the sides but let the cutout darts loose so that there is room left for movement. I love that you can see the folds in the fabric in between these cutout triangles.
0 comments:
Post a Comment